Core Development Concepts > Basics
Environment Variables
Learn what are environment variables and how you can assign them.
- what are environment variables
- how you can assign environment variables in your project applications
Overview
It’s not unusual to have our application code rely on one or more environment variables
Environment variables can be used with all three project applications that get shipped with every Webiny project:
- API (
apps/api)
- Admin (
apps/admin)
- Website (
apps/website)
Upon adding new environment variables, we use the following naming convention:
For example, in order to inject MY_CUSTOM_ENV_VAR variable into all three application, we’d define the following three environment variables:
Note that, upon accessing added environment variables in the application code, you need to specify variable’s full name, including the WEBINY_{APP_NAME}_ prefix:
How to Assign Environment Variables
Using.envFile
For development purposes, the recommended way to do it would be via the .env file, located in your project root.
When you set up a brand new Webiny project, the content of the file might look similar to the following:
From there, we can easily add additional environment variables, like we did with the WEBINY_API_MY_CUSTOM_ENV_VAR.
Using Terminal
Apart from setting them via the shown .env file, environment variables can also be set using a terminal of your choice, and a command that’s available on your operating system.
For example, on Linux or MacOS, you can use the export
On Windows, you can utilize the set

This approach can be used both in development and CI/CD environments, although in case of the latter, using built-in methods for securely storing environment variables is recommended.
CI/CD
Different CI/CD providers offer different options when it comes to setting environment variables. For example, GitHub Actions


Make sure to read the relevant documentation for best practices around how to properly set environment variables in your CI/CD provider.
Webiny Built-in Environment Variables
DEBUG
In order to provide the best possible debugging experience, and at the same time, maintain a strong security posture, Webiny uses the DEBUG environment variable to determine what information needs to be revealed in case one or more errors were thrown in the application runtime.
By default, the DEBUG environment variable is set to true, via the .env file located in your project root. For development purposes, this can useful as you’ll get to see full error reports whenever an error has been returned from for example the GraphQL API, or maybe even in your React application code.
On the other hand, for some pre-production and production environments, most probably you will want to not have this variable set to true, as in some cases, full error reports might reveal sensitive data, and may pose a security vulnerability.
In the following text, we cover a couple of key features that are available while the DEBUG flag is set to true.
Backend Error Reporting
In case of a backend error, for example, an error in a GraphQL resolver function, by default, the client that issued the request will receive the following error response:
As mentioned, the reason for the obscurity is primarily security, as we want to avoid potential leaking of sensitive information to the public.
On the other hand, for development purposes, setting the DEBUG environment variable to true, will force the backend to return something like the following:
You must redeploy your backend project application after updating the environment variables. Otherwise, the change will not be reflected.
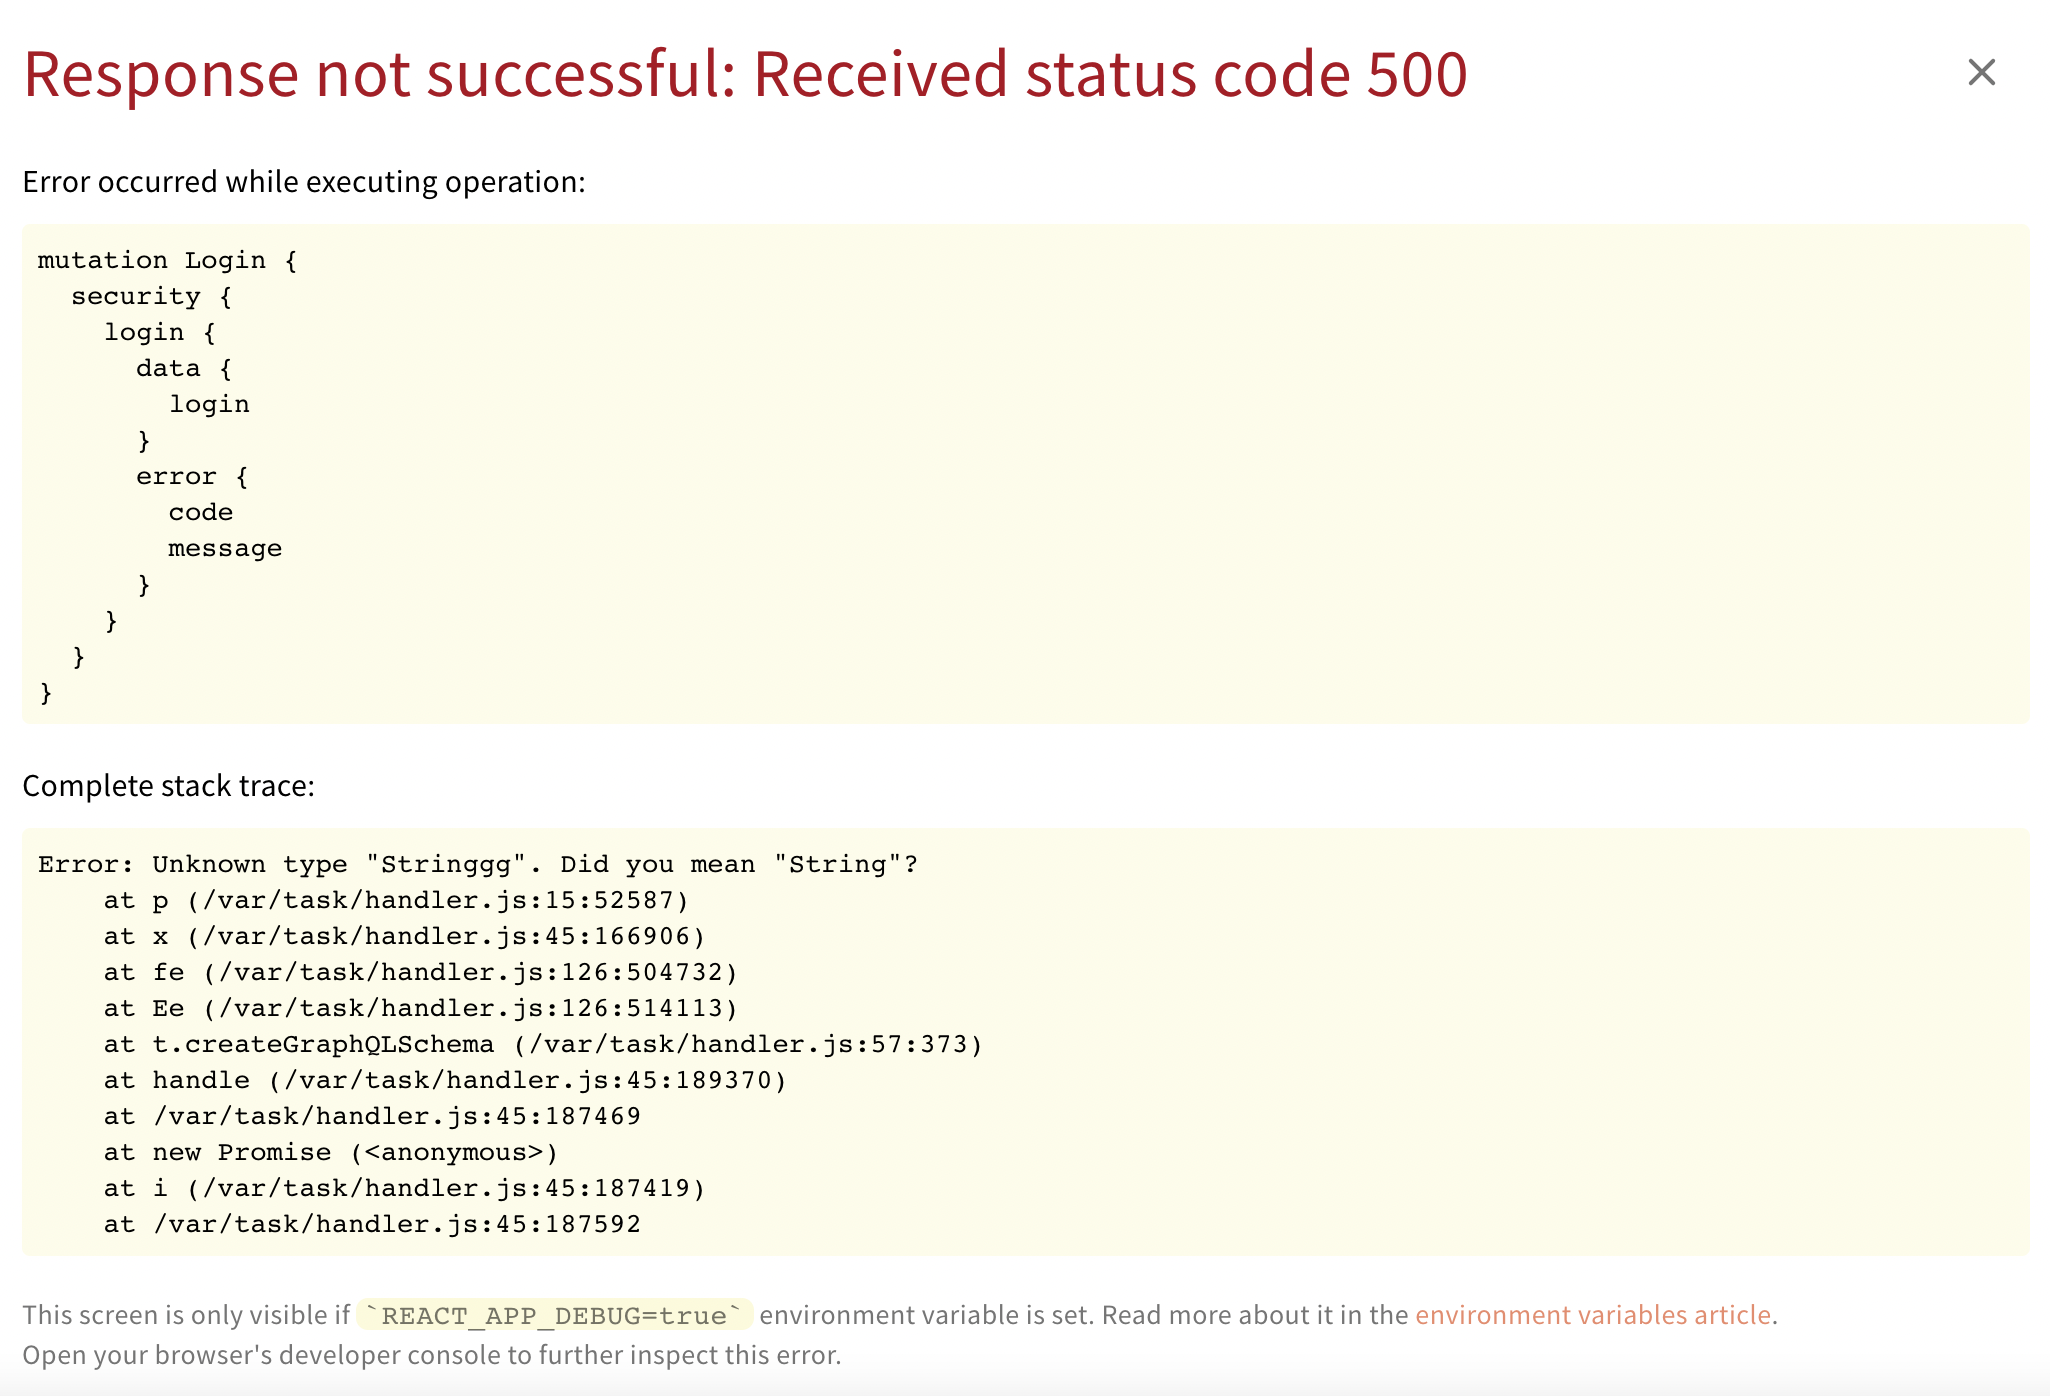
Visual Feedback
The DEBUG environment variable can also be used within your frontend (React) applications.
If set to true, all errors detected in the application runtime will be presented within a clear error report, with all of the relevant information like the error message and a complete stack trace:
 Error overlay in debug mode
WEBINY_ENABLE_VERSION_HEADER
The WEBINY_ENABLE_VERSION_HEADER environment variable is used to add the Webiny version header to all GraphQL response headers.
By default, version headers are not set into the response headers. If you want the version headers to be included, you must set the environment variable to true.
Only the true word will have effect. If you set it to anything else, WEBINY_ENABLE_VERSION_HEADER will be considered as false / not set.
When the environment variable is set to true it will add the x-webiny-version header. Which looks like this:
WEBINY_TRASH_BIN_RETENTION_PERIOD_DAYS
To manage how long deleted entries are retained within Webiny, developers can configure the retention period using the WEBINY_TRASH_BIN_RETENTION_PERIOD_DAYS environment variable.
For example, setting WEBINY_TRASH_BIN_RETENTION_PERIOD_DAYS=7 will preserve deleted entries for 7 days.
Adjusting this variable allows developers to customize the retention period according to their needs.
Setting WEBINY_TRASH_BIN_RETENTION_PERIOD_DAYS=0 will apply the default retention period of 90 days.
FAQ
Do I Need to Redeploy My Applications When Adding Environment Variables?
If you are adding an API environment variable (prefix WEBINY_API_), then yes, you will need to redeploy the application.
Otherwise, for Admin (prefix WEBINY_ADMIN_) and Website (prefix WEBINY_WEBSITE_) applications, a simple rerun of the webiny watch command will do the trick.
Can You Provide Any Details on How the Root.envFile Is Loaded?
Behind the scenes, Webiny CLI uses the dotenv
.env file. Note that the values that are defined in the .env file will not get assigned as environment variables if they were already assigned in the running process (e.g. via terminal, or as a secret in your CI/CD workflow). This is the default behaviour of the dotenv library.